what causes nail damage?
damaged nails come in many varieties. internal causes like infections, skin conditions and nutritional deficiencies are more common than you think, but aren’t always easy to link to nail health. external factors are usually the more obvious culprits: injuries, unprotected use of harsh chemicals and repeated application of nail enhancements like gel nails. “when nail coatings are applied, worn, and removed properly, they are perfectly safe,” says rita remark. “however, if they are applied to unprepped nails, worn for too long, or removed too hastily, damage can occur.”
tips to help repair damaged nails
just like your hair and skin, nails are constantly renewing themselves, which means they have the power to heal and grow in healthier and stronger! so check out these pro tips and tricks for nail repair and effective damaged nail care.
give your nails a break
give your nails a break
switch to a gentle nail polish remover
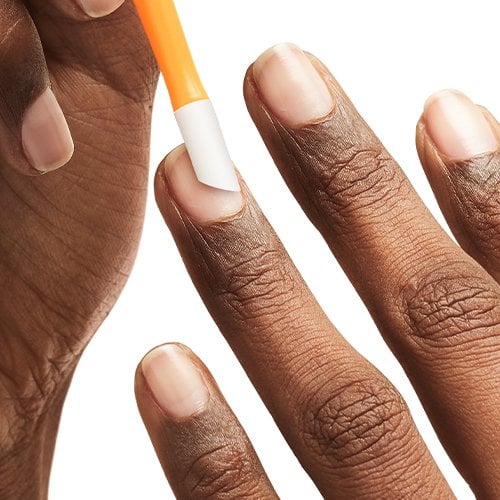
moisturize your nails daily
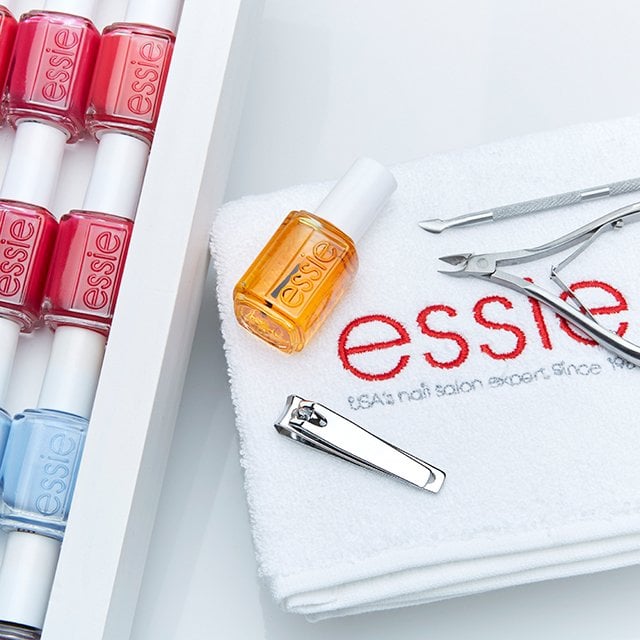
trim and file your nails properly
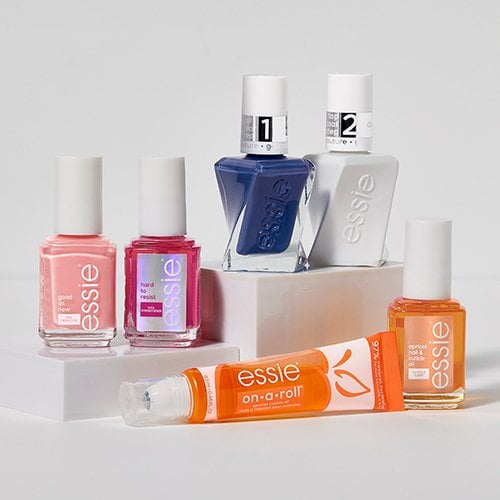
use nail strengthening products
dip powder manicure
“a dip powder manicure is achieved by applying acrylic powder to the nail between layers of a gentle adhesive,” says remark. the process starts with a tacky layer of adhesive that is applied to clean, dry nail beds like a traditional polish. next, fingertips are dipped into a small bowl of acrylic powder and any excess is brushed away. these steps are repeated until the desired color is achieved and sealed with a top coat. “remember to wait two to five minutes between each layer,” adds remark."
does dip powder damage nails?
does dip powder damage nails?
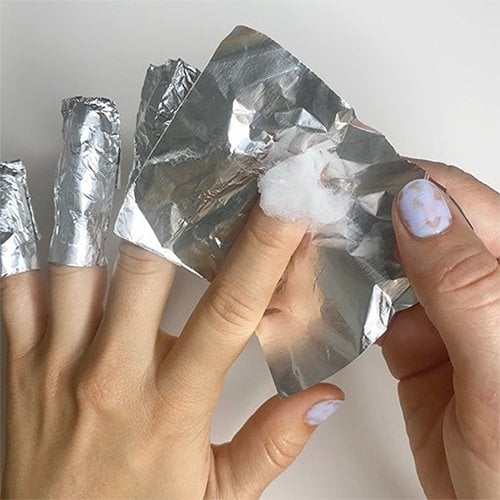
how to repair damaged nails after a dip powder manicure
how to repair damaged nails after a dip powder manicure
acrylic manicure
damage from acrylic nails
damage from acrylic nails
how to repair damage nails after acrylics
how to repair damage nails after acrylics
press-on manicure
the other option that requires more of a commitment is nail glue. regardless of which route you choose, prep natural nails by wiping them with polish remover or isopropyl (rubbing) alcohol to eliminate any oil that can cause press-ons to pop off prematurely. remark also says to make sure each press-on is the proper size to prevent the edges from catching on hair or clothing.
do press-ons damage your nails?
do press-ons damage your nails?
how to repair nail damage from press-ons
how to repair nail damage from press-ons
gel manicures
“gel nails work by applying a gel acrylic called an oligomer,” says remark. similar to regular nail polish, this manicure requires a base coat, two layers of color, and a top coat. the major difference? each layer is cured using a uv or led lamp.
find a salon near you that applies essie gel manicures, or skip the lamp and get a gel-like manicure at home with our two-step longwear nail polish.