what causes nail damage?
damaged nails come in many varieties. internal causes like infections, skin conditions and nutritional deficiencies are more common than you think, but aren’t always easy to link to nail health. external factors are usually the more obvious culprits: injuries, unprotected use of harsh chemicals and repeated application of nail enhancements like gel nails. “when nail coatings are applied, worn, and removed properly, they are perfectly safe,” says rita remark. “however, if they are applied to unprepped nails, worn for too long, or removed too hastily, damage can occur.”
tips to help repair damaged nails
just like your hair and skin, nails are constantly renewing themselves, which means they have the power to heal and grow in healthier and stronger! so check out these pro tips and tricks for nail repair and effective damaged nail care.
- 1
give your nails a break
we know there’s nothing quite like a fresh manicure, but even our nails need a breather (literally). air passes through our nails, so a big part of healing or repairing damaged nails is giving them a chance to breathe.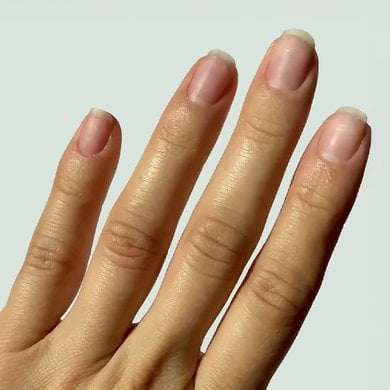
- 2
switch to a gentle nail polish remover
old school acetone-based nail polish removers leave a lot to be desired, mainly because they can trigger brittle nails by stripping natural oils. we recommend gentler options that moisturize as they remove polish and contain nourishing ingredients like argan oil, aloe vera or glycerin that protect damaged nails.
- 3
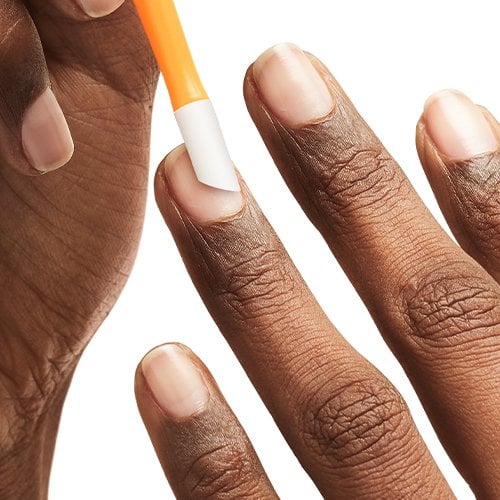
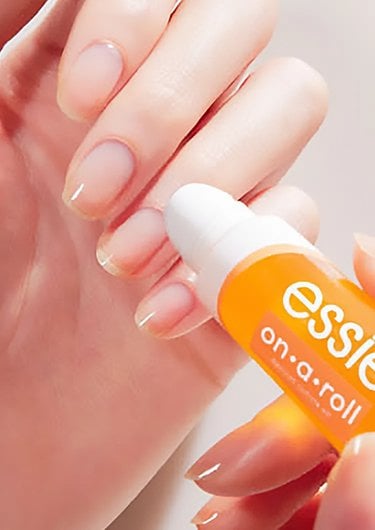
moisturize your nails daily
go ahead, rub it in! in order to stay flexible and healthy, our nails and cuticles need constant moisture. at least twice a day, replenish natural oils that get washed away: massage in a few drops of apricot cuticle oil (roll on or brush on) or natural nourishing oils like jojoba, almond or vitamin E.
- 4
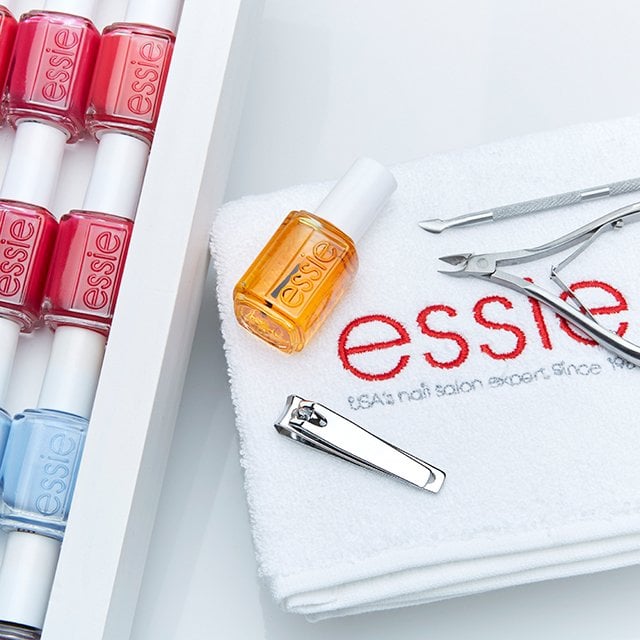
trim and file your nails properly
another smart way to avoid having to treat damaged nails is to practice routine maintenance. not only does regular trimming prevent splitting and breaking, but there’s a right way to file your nails. see our pro tips on trimming and filing for all the details.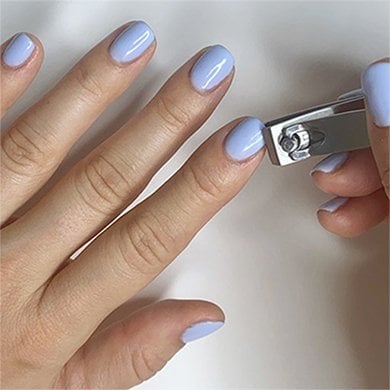
- 5
use nail strengthening products
making your nails stronger is a breeze compared to strengthening your abs, so there’s no excuse for ignoring this tip. adding a nail strengthener (aka hardener), serum and/or treatment to your nail care routine will do wonders for nail repair and upkeep, especially if they include keratin, calcium or vitamin E.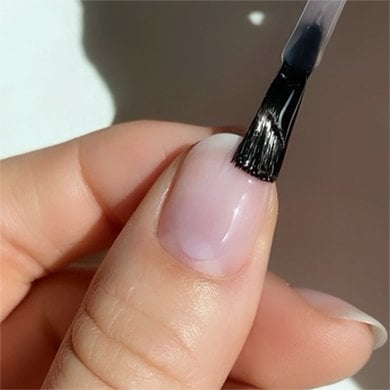
dip powder manicure
“a dip powder manicure is achieved by applying acrylic powder to the nail between layers of a gentle adhesive,” says remark. the process starts with a tacky layer of adhesive that is applied to clean, dry nail beds like a traditional polish. next, fingertips are dipped into a small bowl of acrylic powder and any excess is brushed away. these steps are repeated until the desired color is achieved and sealed with a top coat. “remember to wait two to five minutes between each layer,” adds remark."
- 1
does dip powder damage nails?
damaged nails after dip powder can occur if it hasn’t been applied or removed correctly. “dip powder tends to damage nails more than other coatings because of how strong it is and how time consuming it can be to remove safely,” explains remark.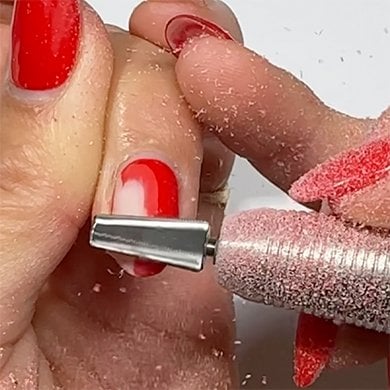
- 2
how to repair damaged nails after a dip powder manicure
if your nails are weak post-dip, keep them short and rounded to prevent breakage. “file them regularly to fix snags and stimulate blood flow,” says remark. then gently buff the surface to smooth out any rough spots. top it off with a fortifying treatment, like essie hard to resist nail strengthener, which helps repair broken nails.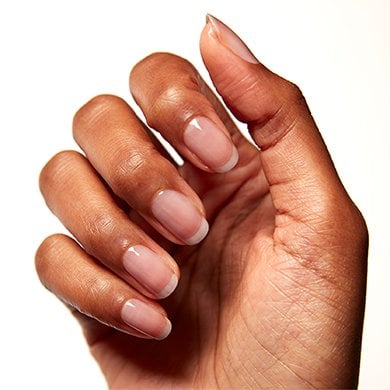
acrylic manicure
- 1
damage from acrylic nails
acrylics are known as the strongest faux nail option, but only a nail pro should perform the delicate and complex processes of applying and removing them. like most nail procedures, the potential damage lies in how they’re put on and taken off, as well as the materials used.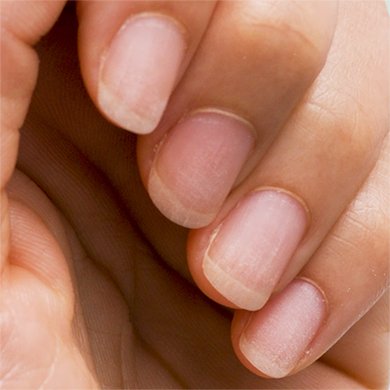
- 2
how to repair damage nails after acrylics
after a nail pro properly removes acrylic nails with an acetone soak and light filing, it’s time to think about repairing damaged nail beds – even if they don’t look that bad.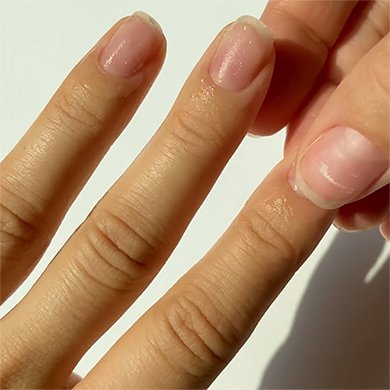
press-on manicure
the other option that requires more of a commitment is nail glue. regardless of which route you choose, prep natural nails by wiping them with polish remover or isopropyl (rubbing) alcohol to eliminate any oil that can cause press-ons to pop off prematurely. remark also says to make sure each press-on is the proper size to prevent the edges from catching on hair or clothing.
- 1
do press-ons damage your nails?
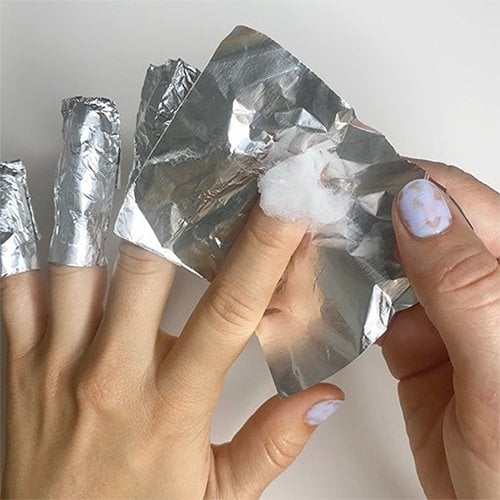
press-ons can lead to damaged nails if they aren’t properly applied or removed. “prying off press-ons will peel away layers of your natural nail,” cautions remark. ouch! always read the label before getting rid of glue, but soaking fingertips in a shallow bowl of acetone for five minutes is usually your best bet.
- 2
how to repair nail damage from press-ons
you can change your mani as often as you change your mind with press-on nails, but it’s essential to maintain a solid foundation. “healthy nail beds equal healthy nail growth,” says rita remark. after removing press-ons, you’ll probably need to do some damage control and nail repair.
gel manicures
“gel nails work by applying a gel acrylic called an oligomer,” says remark. similar to regular nail polish, this manicure requires a base coat, two layers of color, and a top coat. the major difference? each layer is cured using a uv or led lamp.
find a salon near you that applies essie gel manicures, or skip the lamp and get a gel-like manicure at home with our two-step longwear nail polish.
- 1
does gel nail polish damage nails?
while gel nail polish itself doesn’t tend to be cause for nail repair, the application and removal processes increase the risk of damaged nails — especially if done incorrectly.
- 2
how to repair damaged nails after gel polish
if your nails are dry, peeling or brittle, take a break from gels — but not from polish entirely. “if you cut or scraped yourself, you’d apply ointment and a band-aid,” points out remark. use a treatment, like hard to resist nail strengthener, which creates a protective barrier against daily wear and tear from handwashing, sanitizing, etc.